
recording
Record teleprompter video in 4K HDR on iPhone
What a teleprompter or editing app does to your iPhone video, how to check whether yours recompresses it, and how to keep 4K 10-bit HDR intact.
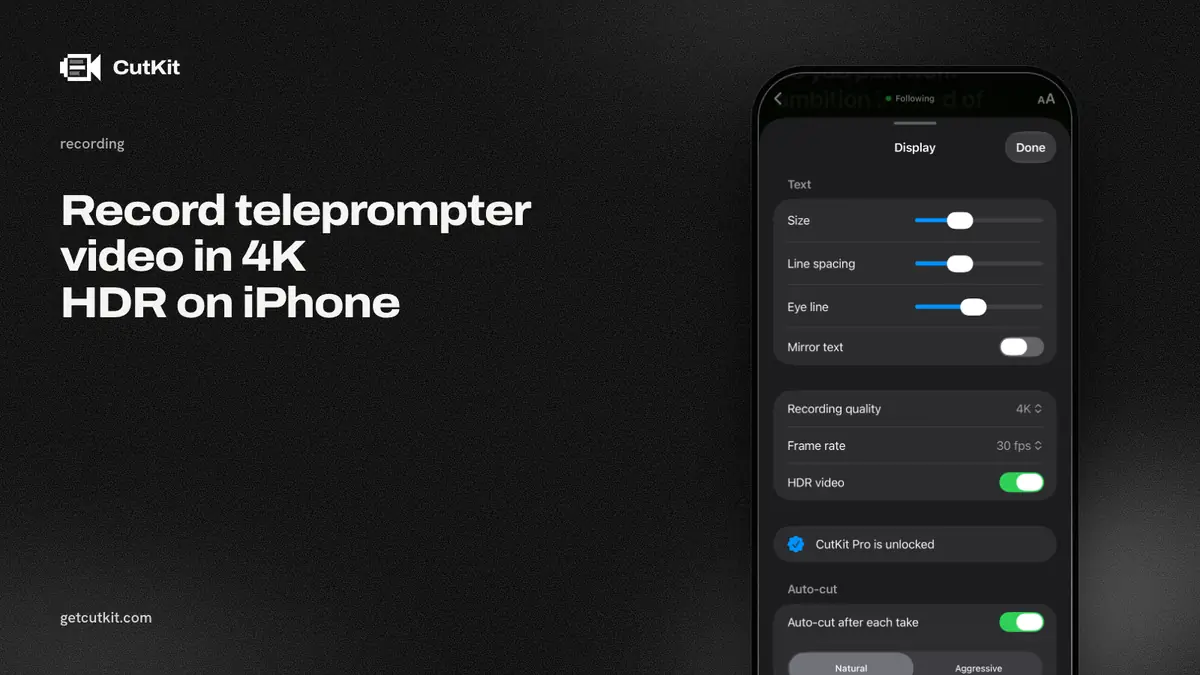
To record a teleprompter video in 4K HDR on iPhone and keep it that way, set the camera to 4K with HDR video on, use an app that records through the camera at native quality, and then avoid any step that re-encodes the file. A re-encode is a second round of compression on top of the camera’s own. You can check whether yours happened by comparing the codec, bit depth and data rate of the file before and after.
Short answer: turn on 4K and HDR in Settings, record with an app that doesn’t cap resolution, and verify the exported file is still HEVC, still 10-bit and still roughly the same size per minute. If it isn’t, the app recompressed it.
Your iPhone’s native recording
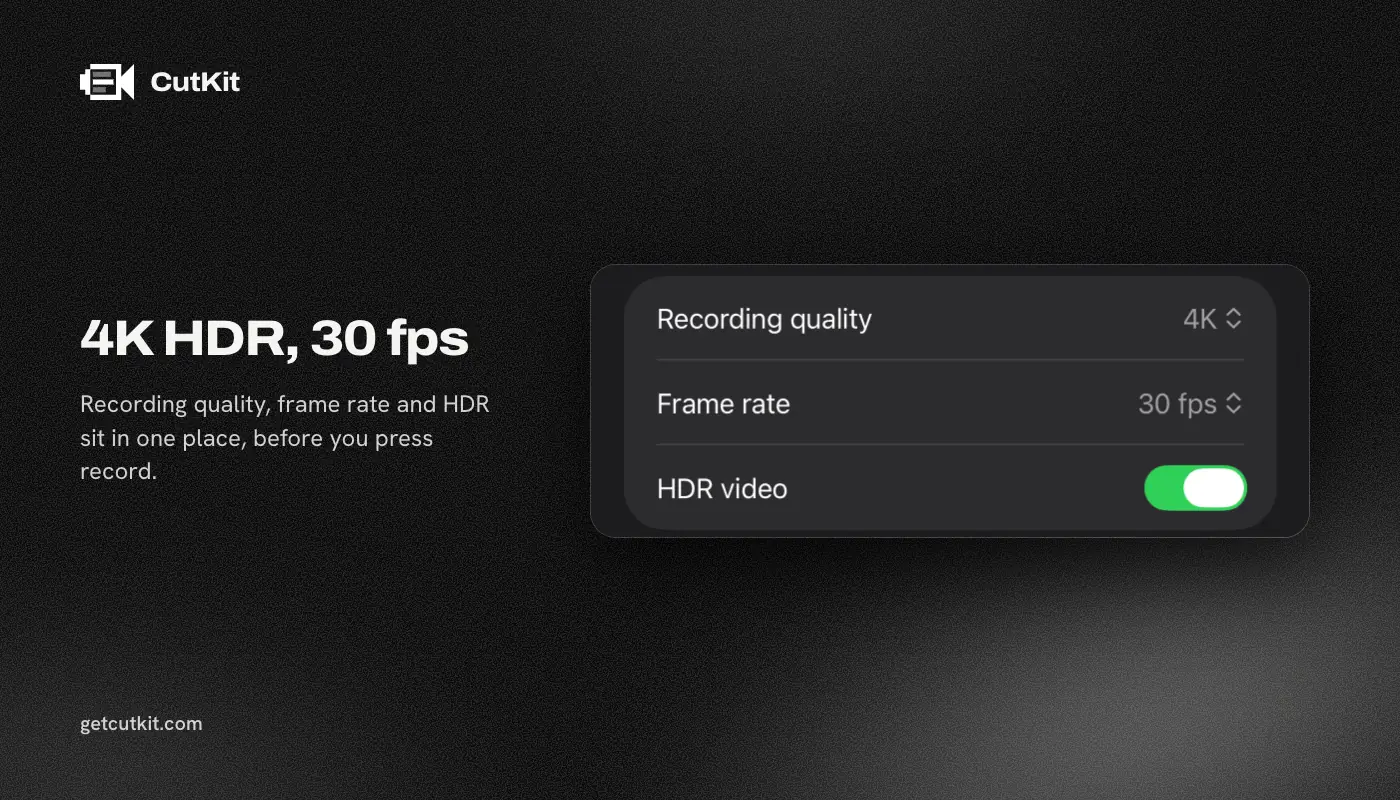
Recent iPhones record video in HEVC, also called H.265, when Formats is set to the HEVC option. With HDR Video on, the camera records 10-bit color, which holds far more shades than the 8-bit color of standard video. That’s the difference between smooth gradients in a sky or a lit wall, and visible bands.
In Settings, under Camera, you’ll find these:
- Formats: HEVC (H.265) or Most Compatible (H.264).
- Record Video: the resolution and frame rate. 4K at 30 frames per second is a solid default for a talking head. The screen also shows roughly how many megabytes a minute each choice takes.
- HDR Video: whether the camera records HDR. The setting sits with the video options, and its exact location has moved between iOS versions, so look for it if it isn’t where you expect.
That’s the source quality. Everything below is about keeping it.
Your video inside an app
An app can touch your video in 3 places, and each is a chance to lose quality.
- Capture. Does the app record through the camera at full quality? Some cap resolution. From listings and pricing pages as of September 2026:
- Teleprompter.com records 4K without a watermark on paid plans and 1080p with a watermark on free. Whether it records HDR isn’t stated.
- BIGVU offers 4K export on its AI Pro plan at $19 a month. It doesn’t state the source recording quality or HDR.
- Teleprompter for Video (Norton Five) lets you choose 720p, 1080p or 4K at 24 to 60 frames per second. Its listing doesn’t state HDR.
- CueFrame says 1080p or 4K when supported, and doesn’t state HDR, 10-bit or HEVC.
- Teleprompter Automatic lists resolution, frame rate and HDR among its camera options, without stating caps.
- CapCut lists 4K 60 fps export with smart HDR. Whether its teleprompter records at that quality isn’t stated.
- PromptSmart+ describes its in-app recording as HD.
We found no listing that documents 10-bit HDR HEVC capture the way the camera does it. That doesn’t mean the apps can’t. It means they don’t say.
Edit. Trimming, cutting and adding captions usually decodes the video and encodes it again. That’s the re-encode.
Export. The last step can compress again to fit a target size or format, especially when the app is uploading to a platform or a cloud service.
A cloud editor adds a fourth: your video is uploaded, processed on a server and sent back, and each of those steps has its own settings. Descript, Captions and BIGVU all work that way, per their pricing pages and listings.
The cost of a re-encode
Video compression throws away information the eye is unlikely to miss. That’s how a minute of 4K video fits on a phone. Doing it once looks fine. Doing it twice throws away more, from a picture that already had gaps.
You may see:
- Softer fine detail, like hair, text on a shirt or a textured wall.
- Blocky patches in dark areas and gradients.
- Banding, the visible stripes in a sky or smooth wall, when 10-bit gets reduced to 8-bit.
- HDR flattening, where a clip that looked rich on the phone looks gray or washed out after export.
On a small screen, at a quick glance, the loss is easy to miss. It matters when you reuse the footage, crop into it, edit it again or put it on a big display.
Checking your own file
You can check any app, including ours. It takes 5 minutes, and you need the original clip and the exported one.
On the iPhone:
- Open the clip in Photos and swipe up, or tap the info button. You’ll see the file name, size and resolution. HDR clips carry an HDR label in Photos.
- Note the size and the length. Divide size by minutes to get megabytes per minute.
- Do the same for the exported clip.
On a Mac, for more detail:
- AirDrop both files to the Mac.
- Open one in QuickTime Player and choose Window, then Show Movie Inspector. It shows the format, resolution and data rate.
- For bit depth and color details, open both in MediaInfo, a free app. Look at the codec (HEVC or H.264), bit depth (10 bits for HDR), color primaries (BT.2020 for HDR) and overall bit rate.
What to compare:
| Check | Same as the original | Recompressed |
|---|---|---|
| Codec | HEVC | Sometimes H.264, or HEVC at another setting |
| Bit depth | 10 bits | Often 8 bits |
| Resolution | 3840 by 2160 | Often lower |
| Data rate per minute | Similar | Often a lot lower, or a lot higher with no gain |
| HDR label in Photos | Present | Often missing |
2 caveats. A trimmed clip will be smaller simply because it’s shorter, so compare per minute, not total size. And a file that got bigger isn’t better: an app can re-encode at a high bit rate and still have gone through a second compression. Codec, bit depth and resolution tell you more than size alone.
A cut with no re-encode
Cutting a video without re-encoding means the app keeps the compressed picture data and rebuilds the file around the parts you kept. It never decodes and compresses them again. Nothing in the picture changes, so nothing is lost.
In general, video formats store some frames in full and describe the frames between them as changes from the last full one. A cut that doesn’t recompress has to respect that structure, so different tools handle the boundaries differently. If you’re comparing tools, this is the question to ask: what happens at the join, and is the picture on either side untouched?
For CutKit, the answer we give is that it exports without re-encoding, and the file that lands in Photos keeps the camera’s 4K 10-bit HDR HEVC picture with stereo audio. Check it with the steps above. Don’t take our word for it.
The trade-offs
We’ll say the trade-offs plainly.
- File size. 4K 10-bit HDR files are big. A phone with little free storage fills up quickly. Read the megabytes-per-minute figure in Settings.
- Compatibility. HEVC and HDR play everywhere on recent Apple hardware. Some older editors, older platforms and older screens flatten HDR or refuse HEVC. If a clip looks wrong after posting, try a non-HDR recording.
- Heat and battery. 4K in a warm room heats the phone. Take shorter takes if it dims or warns you.
- The trial. CutKit has no free plan, only a 7-day free trial with a small watermark on exports. 4K HDR recording is part of Pro, at $9.99 a month, $59.99 a year or $149.99 lifetime.
- Fewer edits. An app that doesn’t re-encode is limited in what it can do to the picture, because effects, captions and color changes need the pixels decoded. CutKit cuts and stops there.
- Requirements. CutKit needs iOS 27 or later, is iPhone only, is in TestFlight beta and has no ratings yet.
CutKit’s recording
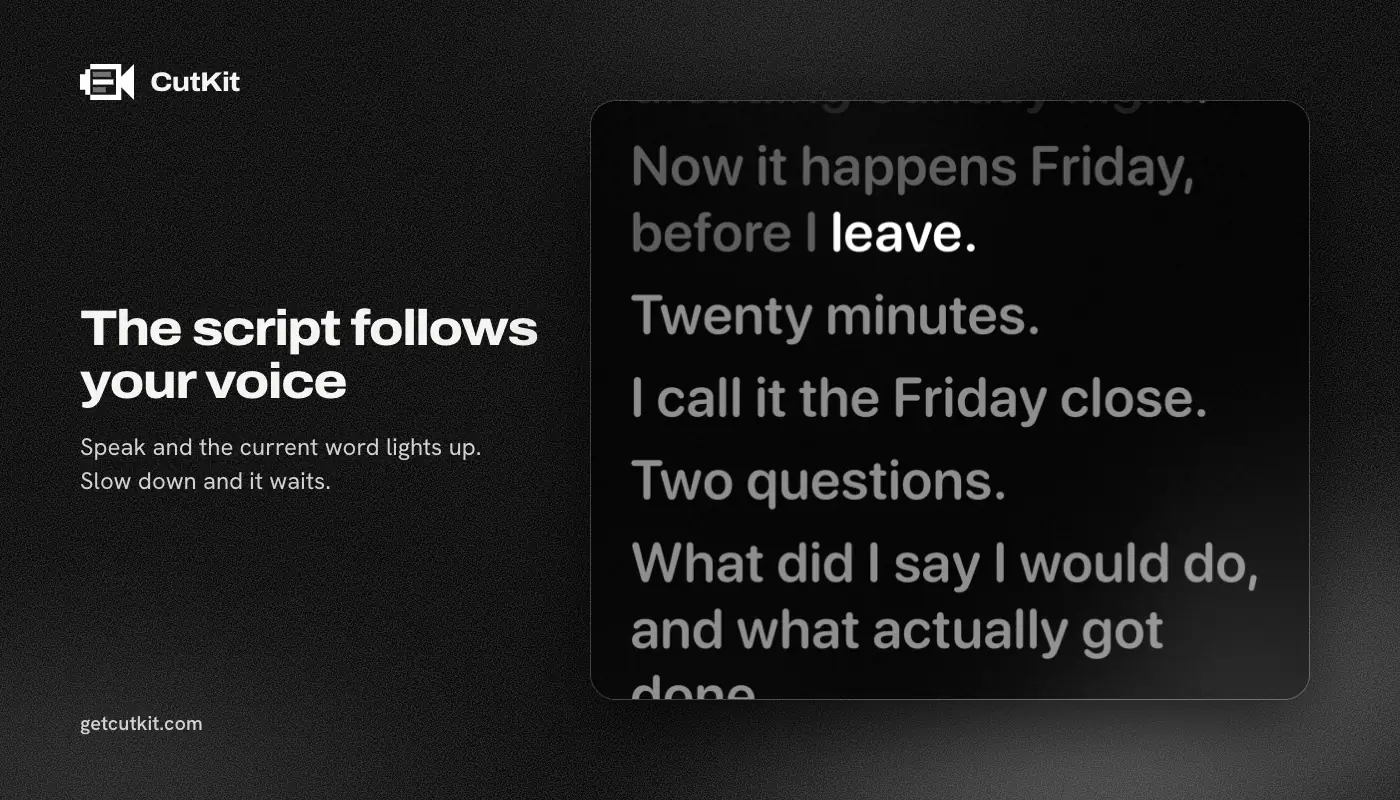
You read a script while the teleprompter follows your voice on the phone, using Apple’s SpeechAnalyzer. It records through the camera at the native format, 4K 10-bit HDR HEVC with stereo audio, and saves to Photos. The Camera Control button starts and stops a take. Afterward, it cuts retakes, false starts, filler words in English and French, and long pauses, on the phone. You review the cuts and tap to restore any. Nothing is uploaded and there’s no account.
Try it in the beta from the home page. For how to film with it, read how to record Shorts and Reels with a teleprompter on iPhone.
Picking a route
If quality is the constraint and you shoot on iPhone alone, keeping the whole chain at native quality and avoiding uploads is the safest route. If you need color grading, captions, effects or a multi-clip timeline, you’ll re-encode somewhere, and a full editor like CapCut or Descript is the honest tool for that. See the best teleprompter apps for iPhone and how to cut filler words on iPhone.
Frequently asked questions
Can an iPhone teleprompter app record in 4K HDR?
Some can record in 4K. Whether they record 10-bit HDR usually isn’t stated in their listings. CutKit records in the camera’s native format, 4K 10-bit HDR HEVC with stereo audio, and saves to Photos.
What does it mean to edit a video without re-encoding?
The editor keeps the compressed picture as it is and rebuilds the file around the parts you kept. The picture isn’t decoded and compressed a second time, so it doesn’t lose quality. CutKit exports this way.
How can I tell if an app recompressed my video?
Compare the exported file with the original. Check the codec, bit depth, resolution and data rate per minute, using Photos on the phone or MediaInfo on a Mac. A drop from 10-bit to 8-bit, or from HEVC to H.264, means it was re-encoded.
Does HDR video look wrong on some platforms?
Sometimes. Platforms and older editors may flatten HDR, so it looks gray. If that happens, post a non-HDR version and keep the HDR original for your own archive.