
editing
How to cut filler words from a video on iPhone
3 ways to remove ums and filler words from a video on iPhone, what each costs in quality and privacy, and how to check the result before you post.
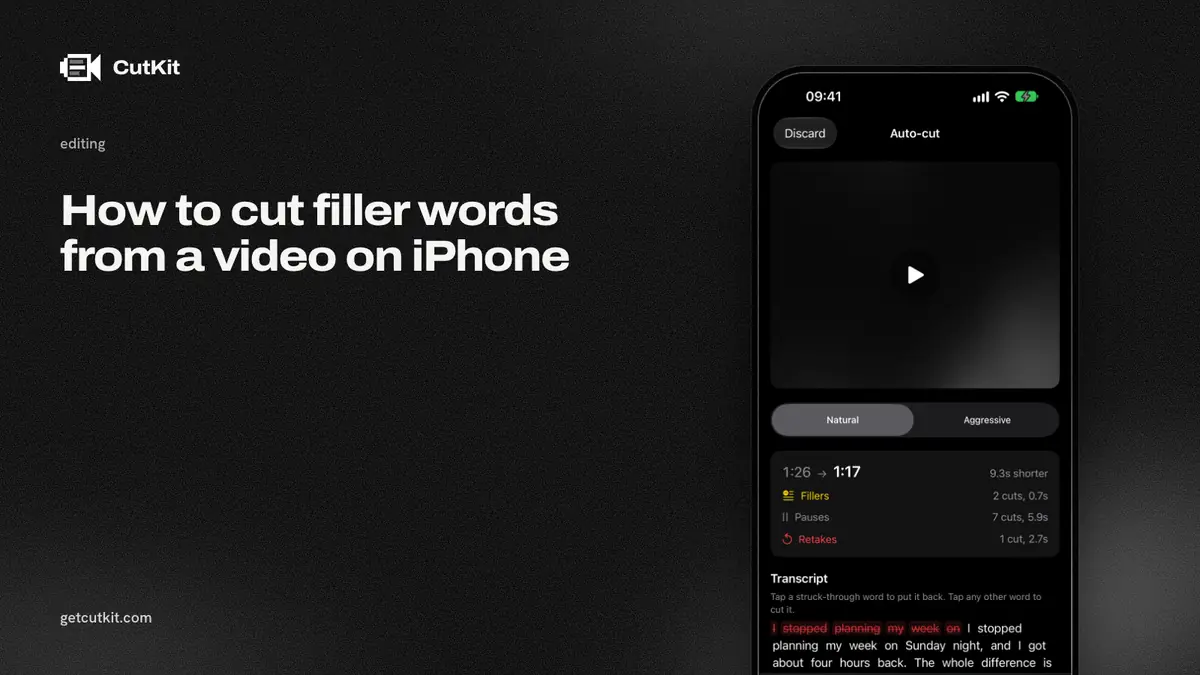
You can cut filler words from a video on iPhone 3 ways: edit by hand on a timeline, use a transcript editor that deletes the words you pick, or use an app that finds and cuts them for you. Hand editing is precise and slow. Transcript editors are fast, but most are cloud apps that upload your video. Automatic cutters are the quickest, and you should still watch what they took out.
Short answer: for a short talking-head clip, an automatic cutter that runs on the phone does the tedious part for you. Always review the cuts, keep breaths in, and check that the app doesn’t recompress your file.
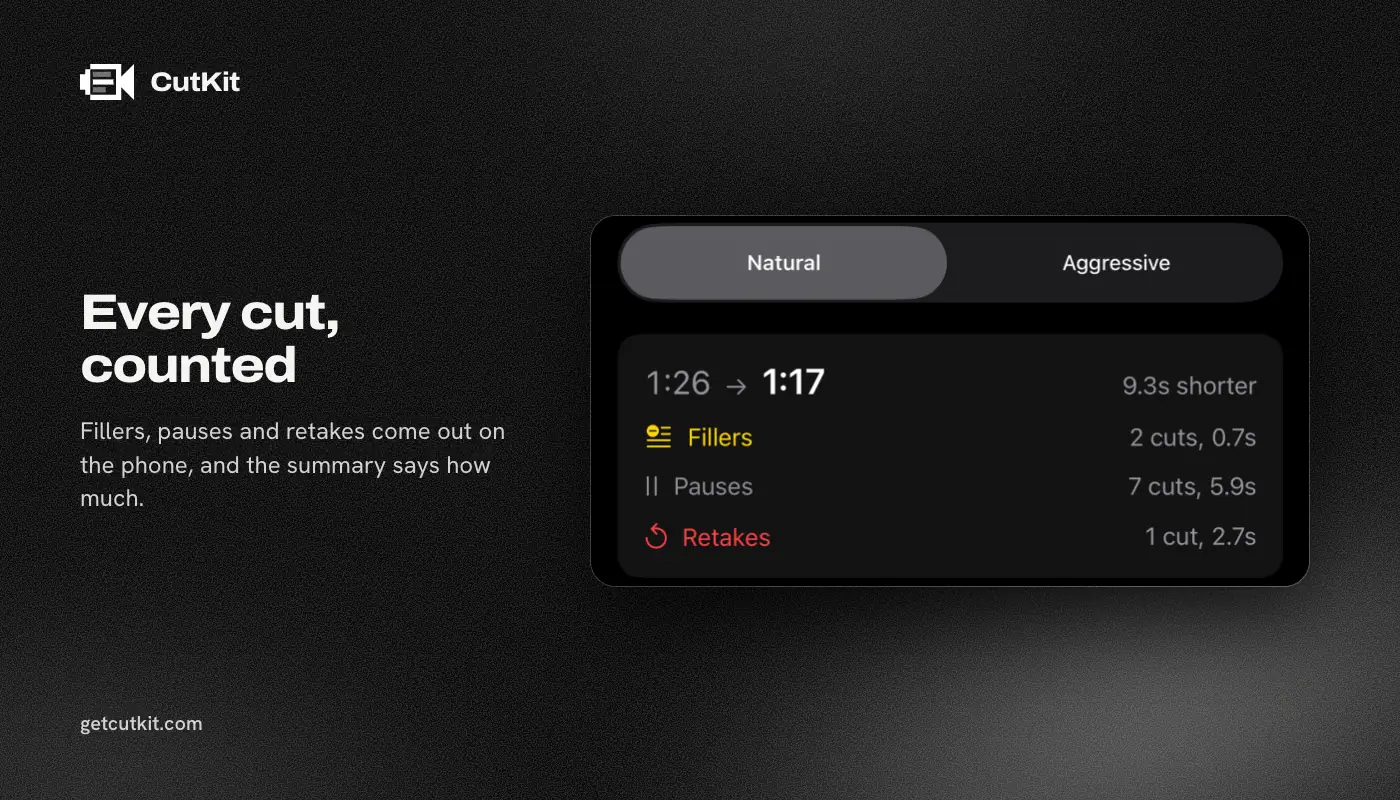
Fillers
A filler is a sound or word that fills a gap while you think. It carries no meaning.
- Sounds: um, uh, er, hmm.
- Words used as fillers: like, you know, so, basically, actually, right, I mean, kind of.
- French ones: euh, ben, genre, du coup, en fait, voilà.
Not every “like” is a filler. “It looks like a phone” needs the word. “It’s, like, a phone” doesn’t. That’s the first reason a tool that cuts every “like” is dangerous, and why you review the result.
Fillers aren’t the only thing you cut, and the rest matters as much:
- False starts: “The app can, the app records in” where the first half gets dropped.
- Long pauses: dead air where you looked for the next line.
Cutting only the “um” and leaving a half-second gap makes it worse, because now there’s a hole where the word was. A clean cut removes the word and the silence around it.
Way 1: cut by hand on a timeline
Apple’s Photos app trims the start and end of a clip. It doesn’t cut out the middle. To remove a word in the middle you need an editor with a timeline, such as iMovie or CapCut, where you split the clip on either side of the “um” and delete the piece.
Real steps in any timeline editor:
- Zoom in until you can see the waveform.
- Play to the filler and pause on it.
- Split before and after it, and delete the piece.
- Close the gap, or leave a very short one so breathing still sounds natural.
- Play back the join. A cut in the middle of a word makes a click.
It’s precise. It’s also slow: a one-minute clip can have 12 fillers, and each one is 4 or 5 taps.
Watch out for: cutting in the middle of a video changes the framing at the join. That’s a jump cut. Talking-head video uses them constantly and viewers accept them, but if 2 cuts land close together the picture will jerk.
Way 2: a transcript editor
A transcript editor shows your words as text. You delete a word in the text and it’s gone from the video. Descript is the best known. Per its pricing page as of September 2026 it removes filler words, retakes and silences, and it’s a cloud service that needs an account. Hobbyist is $24 a month or $16 a month billed annually. Treat those numbers with some care, since the pricing page read 2 ways when we checked. Side by side: CutKit vs Descript.
Captions has an AI Trim that removes pauses and filler words, according to its listing, and it needs an account for paid features. Its pricing as of September 2026 is $24.99 a month for Max. One September 2026 review says “$25 bought me 2.5 minutes of video”, which points to how the credits work. Check the credit terms before you commit. Side by side: CutKit vs Captions.
BIGVU’s listing says it removes filler words and awkward pauses with one tap, and it uploads your video to its cloud.
CapCut has trim, split and auto captions. We couldn’t verify a one-tap filler cut in its listing.
The trade-off is the same for the cloud ones. They’re accurate, and you can fix a mistake by editing text. But your video goes to a server, they need an account, and they usually export a new file, which leads to the next section.
Quality cost of each way
When a video is exported, an editor either copies the picture data as is, or decodes it and compresses it again. That second option is a re-encode, and it means a second round of compression on top of the one the camera already did. Fine detail softens a little, and HDR footage can get flattened if the editor doesn’t handle it.
- Timeline editors almost always re-encode on export. CapCut’s listing mentions 4K 60 fps export with smart HDR, so it can keep resolution, but the file is still new.
- Transcript editors usually render a new file. Descript’s exports are 1080p on Hobbyist and 4K on Creator, according to its pricing page.
- A cutter that doesn’t re-encode joins the kept pieces without recompressing the picture, so the exported file matches the camera original in quality. CutKit works this way, and its export doesn’t re-encode. Detail, which cuts silences and filler words on the phone as of its 6.0 update (14 Sep 2026), doesn’t say either way in anything we read, so check its exported file with the steps below.
For a clip you’ll post to a phone screen, a re-encode is barely visible. It matters if you’ll reuse the footage, reframe it, or edit it again. Copy a copy and you lose a little more each time. See how to record teleprompter video in 4K HDR for how to check what your file is.
Way 3: cut as you record
The quickest way is to skip the separate edit. You read a script, keep going through mistakes, and the app cuts the retakes, fillers and long pauses when you stop.
CutKit does this on the phone. It records in the camera’s native format, which is 4K 10-bit HDR HEVC with stereo audio, then cuts retakes, false starts, filler words in English and French, and long pauses. It isn’t a general editor. Detail also cuts filler words on the device since its 6.0 update, and it’s the fuller editor of the pair. What CutKit adds is retake and false-start removal using your script, native-camera capture, an export that doesn’t re-encode and a lifetime Pro option.
Steps:
- Get your script in. Paste it, use Apple Notes through Shortcuts, or send it from Claude over MCP.
- Record. Start with the Camera Control button. The script follows your voice on the phone. If you fumble, say the line again and keep going.
- Stop. The cut runs on the phone. Nothing is uploaded, and there’s no account.
- Pick a pace. Natural leaves more breathing room between phrases. Aggressive tightens harder.
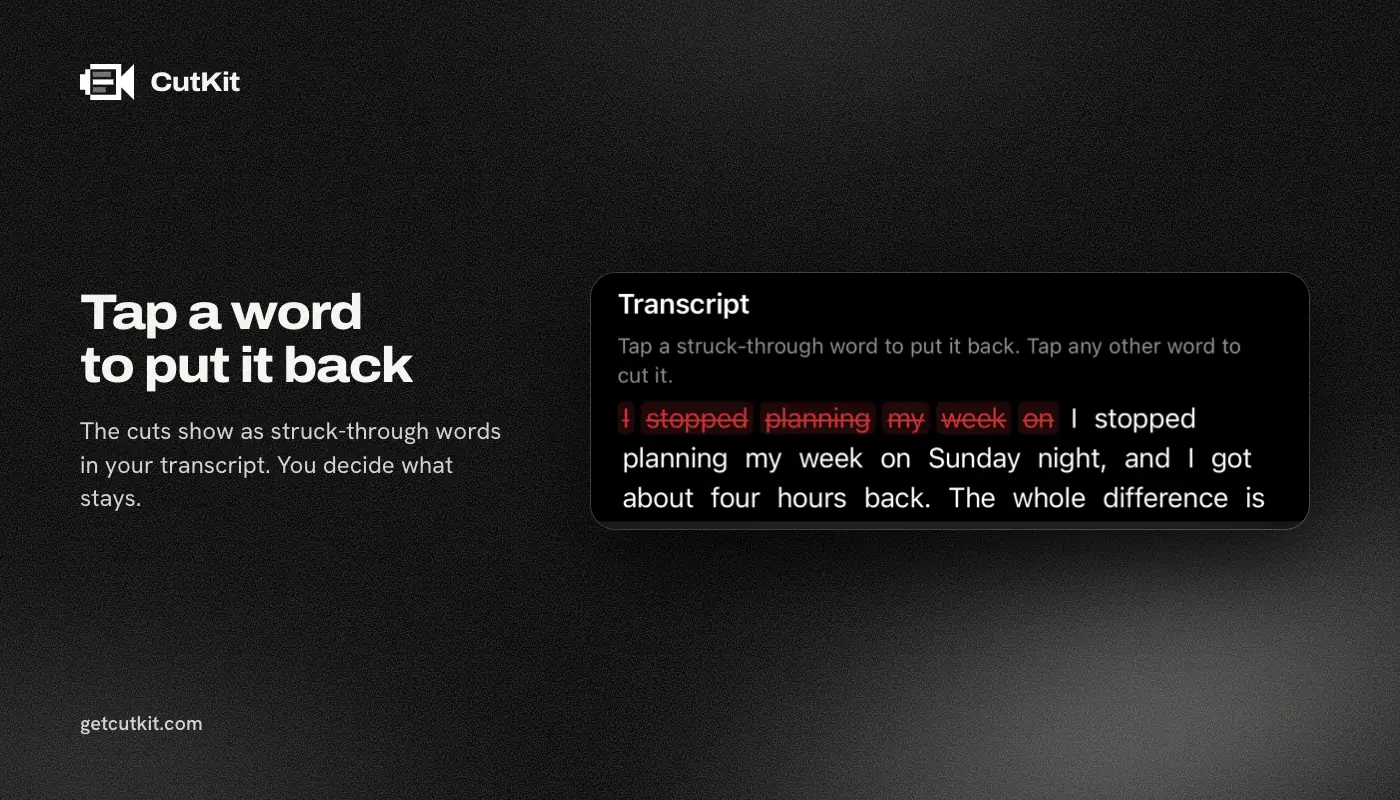
- Review. Watch through the cuts. Tap any one to restore it.
- Export. It exports without re-encoding and saves to Photos.
There’s no free plan, just a 7-day free trial, and exports during the trial carry a small CutKit watermark. After that Pro is $9.99 a month, $59.99 a year or $149.99 lifetime.
Where it falls short: it’s iPhone only, it needs iOS 27 or later, it’s in TestFlight beta and has no ratings yet. It cuts and stops there, with no captions or effects. You can join the beta from the home page.
Problems in every way
Words chopped at the edges. A cut that starts a few milliseconds late clips the first letter of the next word. Listen to every join once, with headphones.
No breaths. Take out every breath and the speech sounds like a machine. Leave a natural pause between sentences. In an automatic tool, that’s what a gentler pace is for.
Real words removed. “Like”, “so” and “actually” are sometimes the content. Read the transcript or watch the cuts.
Audio pops. Cutting where the sound is loud makes a click. Editors usually fade a few milliseconds to hide it, so check the setting.
Sync drift. If the picture and audio are cut at different points, the mouth stops matching the voice. That’s rarer in single-take video, more common when you edit audio separately.
A talking-head jump. Cuts within a second of each other look jerky. Leave a bit of the pause, or add a slight zoom on one of the pieces.
Over-trimming. An aggressive setting on slow, thoughtful speech makes you sound rushed. Try the gentler setting first.
Checking the result
Whichever tool you use, do the same 3-minute check before you post:
- Watch the whole clip at normal speed with headphones on.
- Scrub back over any join that felt odd.
- Compare the file size to the original. A big drop may mean recompression.
- Look at the first frame and a bright area for banding or flat color.
- Play it on a phone as well as on the editing screen.
Picking a way
If you edit long interviews, want to change the words afterward, or work on a laptop, a transcript editor such as Descript is the right tool, and it’s better than CutKit at that job. If you shoot one-take vertical clips on your iPhone and want them cut when you stop recording, an on-device cutter saves the most time. For the apps that scroll your script while you record, see the best teleprompter apps for iPhone.
Frequently asked questions
How do I remove ums from a video on iPhone?
Split the clip on either side of each um in a timeline editor and delete the piece, use a transcript editor that deletes words from a transcript, or use an app that cuts them automatically. The automatic route is fastest, but review what it removed.
Can Photos on iPhone remove filler words?
No. The Photos app trims the start and end of a clip, but it can’t cut out the middle or find filler words. You’d need an editor for that.
Does removing filler words lower video quality?
It can. If the app re-encodes on export, the video gets compressed a second time, which softens fine detail and can flatten HDR. A tool that exports without re-encoding avoids that. CutKit is built that way.
Does CutKit cut filler words in French?
Yes. It removes filler words in English and French, along with retakes, false starts and long pauses. You review the cuts and tap to restore any that were wrong.